How to Add MyQ to HomeKit: Easy Integration Guide
In today’s world of interconnected devices, having a centralized smart home system is essential. One of the most popular home automation systems, Apple HomeKit, enables users to control various smart devices seamlessly. MyQ, a leading smart garage door opener, is also gaining popularity for its ability to enable remote access to your garage. However, adding MyQ to HomeKit isn’t always a straightforward process, and many users seek clarity on how to integrate these two systems. This comprehensive guide walks you through everything you need to know about adding MyQ to HomeKit, from setup requirements and step-by-step instructions to troubleshooting and alternatives.
Understanding MyQ and Apple HomeKit Integration
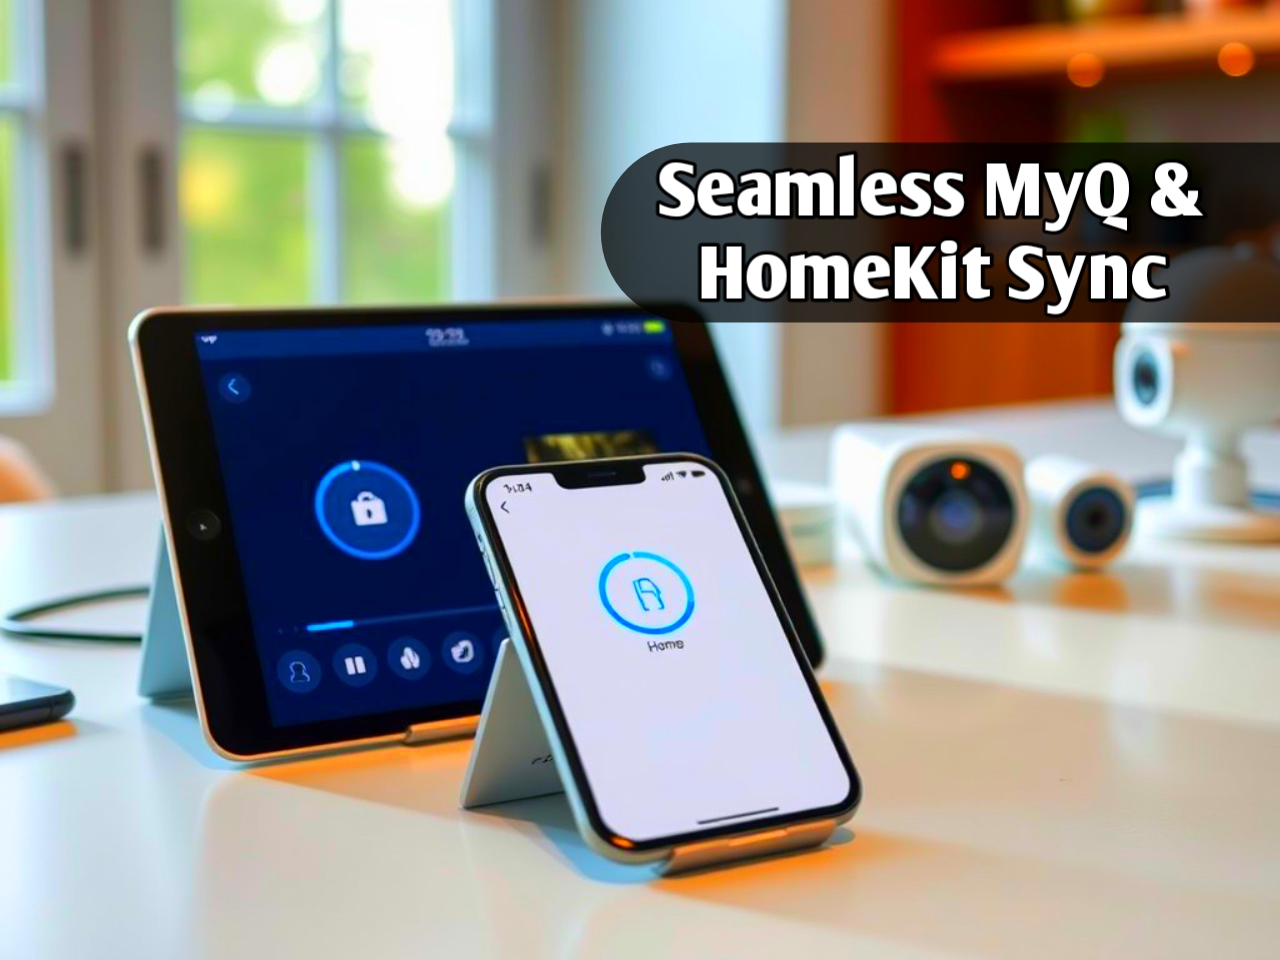
MyQ is a smart garage opener system created by Chamberlain, allowing users to control and monitor their garage doors via a mobile app. Apple HomeKit, on the other hand, is Apple’s smart home platform that consolidates smart devices into one system, allowing users to control them using iPhone, iPad, Apple Watch, or even voice commands through Siri. Integrating MyQ with HomeKit enables users to operate their garage doors within the HomeKit ecosystem, allowing for enhanced convenience and security. However, it’s important to note that MyQ doesn’t natively support HomeKit, so additional steps and, in some cases, extra equipment are necessary to make the integration possible.
Why You Would Want to Add MyQ to HomeKit
Adding MyQ to HomeKit brings various benefits, especially for those already invested in Apple’s smart home ecosystem:
- Unified Control: Operate all smart devices, including the garage door, from one centralized HomeKit app.
- Voice Commands with Siri: Easily open or close the garage door using voice commands.
- Automation and Scene Control: Integrate the garage door into scenes such as “Leaving Home” or “Arriving Home” to trigger multiple devices at once.
- Enhanced Security: Use Apple’s secure platform to monitor and control garage access remotely.
These advantages make the integration not only convenient but also a great security feature for the modern smart home.
Prerequisites for Adding MyQ to HomeKit
Before you begin the integration, ensure you have the following components:
- A Compatible MyQ Garage Door Opener: Check that your MyQ device is compatible with MyQ’s system and is operational.
- MyQ Home Bridge: To connect MyQ with HomeKit, you will need the MyQ Home Bridge accessory, available from Chamberlain.
- Apple Device with Home App: An iPhone, iPad, or Mac with the Home app installed.
- Stable Wi-Fi Connection: A consistent Wi-Fi signal between the garage door opener and the Home Bridge is essential.
- MyQ Account: A MyQ account set up in the MyQ app is necessary for setup.
With these components in place, you’ll be ready to proceed with integrating MyQ with HomeKit.
Step-by-Step Guide to Add MyQ to HomeKit
Step 1: Set Up the MyQ Garage Door Opener
If your MyQ system isn’t already set up, begin by installing and configuring it. Use the MyQ app to connect your garage door opener to your Wi-Fi network and ensure it’s operating smoothly. Follow these steps:
- Open the MyQ app and follow the prompts to add a new device.
- Select your garage door opener from the list and follow the in-app instructions to connect it to your Wi-Fi.
- Test the garage door through the app to ensure it’s functioning correctly.
Step 2: Connect the MyQ Home Bridge
The MyQ Home Bridge is the bridge device that allows your MyQ opener to connect with Apple HomeKit. Here’s how to set it up:
- Plug in the MyQ Home Bridge in a location with a stable Wi-Fi connection.
- Open the MyQ app and add the MyQ Home Bridge as a new device.
- Follow the in-app instructions to connect it to your Wi-Fi network.
- Once the bridge is added, it will link your garage door opener to HomeKit.
Step 3: Add MyQ Home Bridge to Apple HomeKit
After connecting the MyQ Home Bridge to the MyQ app, you’re ready to add it to Apple HomeKit:
- Open the Home app on your Apple device.
- Tap on “Add Accessory” and use your device’s camera to scan the QR code on the MyQ Home Bridge.
- Follow the prompts to assign a name and room to the device.
- Complete the setup and ensure your garage door opener is visible in the Home app.
Step 4: Test the Integration
After setup, it’s essential to test the integration:
- Open the Home app and find your garage door.
- Use Siri commands such as “Hey Siri, open the garage door” to test its functionality.
- If everything works as expected, your integration is complete!
Troubleshooting Common Issues During Integration
Despite following the setup steps, you may encounter some common issues. Here’s how to address them:
- Connection Issues: Ensure both your MyQ Home Bridge and Apple device are connected to the same Wi-Fi network.
- Error Messages: Restart the MyQ app, Home app, or device, which often resolves issues.
- Device Not Responding: Reset the MyQ Home Bridge and repeat the setup process.
If these steps don’t resolve your problem, try reaching out to Chamberlain’s customer support or checking the MyQ support website for troubleshooting resources.
Creating HomeKit Automations with MyQ
Once MyQ is integrated with HomeKit, you can use it in automations and scenes. Here’s how to set up automations with MyQ in the Home app:
- Open the Home app and select the Automation tab.
- Tap on “Create New Automation” and select a trigger, such as arriving at or leaving home.
- Choose your MyQ garage door opener as the accessory to control.
- Save the automation, and it will activate based on your chosen trigger.
This allows you to automate your garage door’s behavior, which can be convenient and improve security.
Alternative Methods to Add MyQ to HomeKit
If purchasing the MyQ Home Bridge isn’t an option, consider these alternative solutions:
- Homebridge: Homebridge is an open-source platform that allows you to connect unsupported devices to HomeKit. By using a plugin for MyQ, you can enable HomeKit control.
- HOOBS: HOOBS is a more user-friendly version of Homebridge. It simplifies the process of adding MyQ to HomeKit without the need for technical knowledge.
These methods require some setup but offer a cost-effective way to bring MyQ to HomeKit.
Tips for Optimizing MyQ and HomeKit Performance
For the best experience with MyQ and HomeKit, consider these tips:
- Ensure Strong Wi-Fi Signal: Weak Wi-Fi in the garage can cause delays. Position your router closer or consider a Wi-Fi extender.
- Keep Firmware Updated: Regularly update your MyQ firmware for smooth performance.
- Use Siri Shortcuts: Siri Shortcuts can provide faster access and even hands-free control when connected with HomeKit.
Frequently Asked Questions About MyQ and HomeKit Integration
Here are answers to some commonly asked questions about MyQ and HomeKit:
- Can I use MyQ without the MyQ Home Bridge?
- Only with a third-party workaround like Homebridge or HOOBS. The official method requires the Home Bridge.
- Does the MyQ Home Bridge work with multiple garage doors?
- Yes, as long as each door is compatible, the Home Bridge can control multiple doors.
- Is the MyQ Home Bridge a one-time purchase?
- Yes, but some advanced features in the MyQ app may require a subscription.
Conclusion: Is Adding MyQ to HomeKit Worth It?
Integrating MyQ with HomeKit provides significant benefits, especially if you’re already using Apple’s ecosystem. It offers central control, easy automation, and increased security by enabling garage control through HomeKit and Siri voice commands. While it may require additional hardware and setup, the enhanced convenience and control it offers make it a valuable addition to any smart home setup.
In summary, by following this guide and utilizing either the official MyQ Home Bridge or third-party solutions like Homebridge, you can successfully integrate your MyQ garage opener with Apple HomeKit, bringing your smart home one step closer to fully unified control.
Read Also Our This Post: How a Nursery Air Purifier Improves Air Quality for Babies

Kamran Khatri is a versatile writer and editor at ExpressZone.co.uk, bringing fresh perspectives and insightful commentary across a wide range of topics. With a passion for exploring diverse subjects—from technology, business, and finance to lifestyle, travel, and the arts—Kamran aims to inform, inspire, and engage readers through well-researched articles and thought-provoking content.
His work spans multiple categories including health, education, pets, entertainment, real estate, and sustainability, reflecting his commitment to delivering knowledge that connects with everyday life. Whether breaking down the latest trends, sharing practical tips, or highlighting cultural insights, Kamran’s writing combines clarity with creativity.
When he’s not crafting stories for ExpressZone.co.uk, Kamran enjoys keeping up with global developments, exploring innovative ideas, and connecting with readers who share his curiosity about the world.


